How to Use Transform Tool in KineMaster
May 30, 2025 (2 months ago)
Making great videos is now super easy with mobile apps like KineMaster. One of the best tools in KineMaster is the Transform Tool. It helps you resize, move, rotate, and animate your video or image layers. Whether you are just starting or already know editing, this tool is very helpful. In this article, you’ll learn everything you need to know about how to use the Transform Tool in KineMaster.
What is the Transform Tool in KineMaster?
The Transform Tool is a feature in KineMaster Mod APK that lets you control how a video clip or image appears in your frame. You can use it to change size, rotate, reposition, or animate a layer. This is helpful when you want to zoom in, shift the subject, or create visual effects in your video.
Why Use the Transform Tool?
- To zoom in or out of a specific area
- To move an image or video to a different part of the screen
- To rotate clips to fix orientation
- To add dynamic movement or motion animations
Where to Find the Transform Tool?
To find the Transform Tool:
- Open KineMaster and start a new project.
- Import a video, image, or any other media layer.
- Tap on the layer in the timeline.
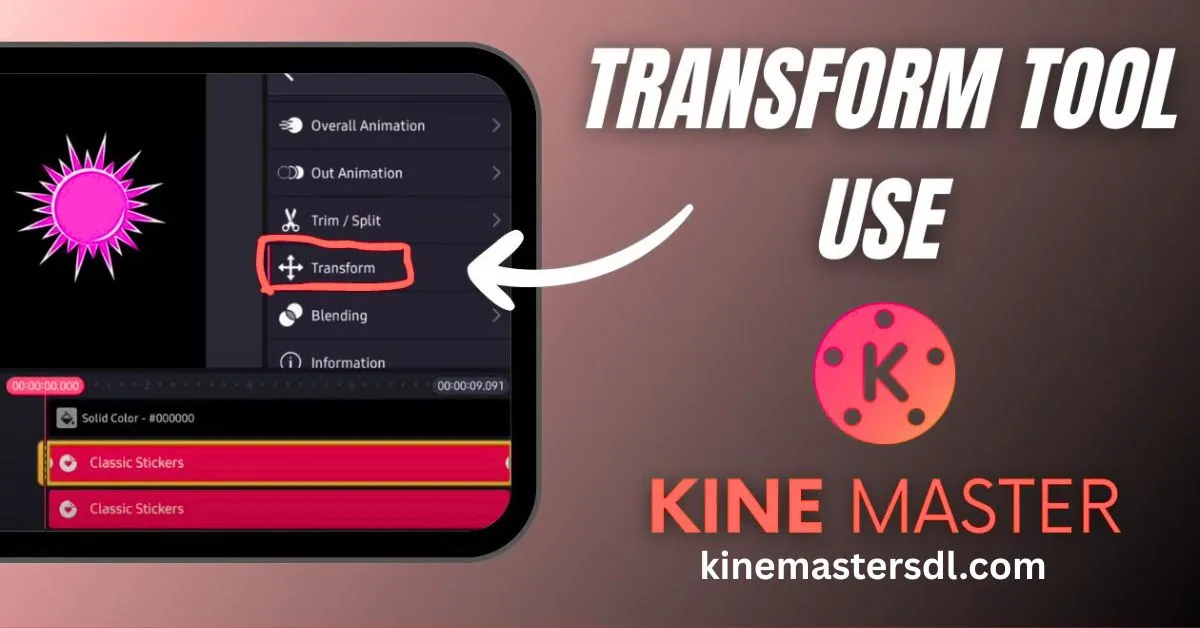
- A menu bar will appear on the right – tap Transform.
How to Use the Transform Tool in KineMaster
Step 1: Add Media Layer
Start by adding your media (video or image) to the timeline.
- Tap on Media in the main circle menu.
- Select a file from your device.
- It will appear on the main timeline.
Step 2: Select the Layer
- Tap the layer you just added.
- Once it’s selected, the right-hand menu will appear.
Step 3: Open the Transform Tool
- Tap on the Transform button.
- You will now see controls for Scale, Rotation, and Position.
Step 4: Resize the Layer
- Use the corner handles on the preview screen to resize the layer.
- Pinch or stretch the layer using two fingers to zoom in or out.
Step 5: Rotate the Layer
- Tap and drag the rotation handle in the preview screen.
- You can rotate clockwise or counter-clockwise until you get the desired angle.
Step 6: Move the Layer
- Drag the layer anywhere in the frame.
- You can place it top-left, bottom-right, center, or wherever it looks best.
Step 7: Add Keyframe Animations
To animate movement, size, or rotation over time:
- Tap the keyframe icon (diamond shape) in the timeline.
- Move the playhead to a new position.
- Adjust the layer’s size or position again.
- KineMaster will automatically create a smooth animation.
Best Practices for Using Transform Tool
Use it to Focus Attention
If your video has a lot happening in one scene, zoom in on the important part using Transform Tool. This will guide the viewer’s eyes where you want.
Avoid Overusing Rotation
Too much rotation can make your video feel dizzy or unprofessional. Use it for creative transitions only.
Use Keyframes for Smooth Movement
Keyframes help create professional-looking animations like zoom in/out, side-to-side movement, or rotation over time. Don’t skip this step if you want your video to stand out.
Examples of Transform Tool in Action
- Vlog editing: Zoom in on your face when telling a story.
- Gaming videos: Move gameplay clip to the corner and add webcam overlay.
- Tutorials: Focus on the tool or part of the screen you’re explaining.
- Dance or music videos: Animate the performer to create rhythm effects.
Common Issues and How to Fix Them
| Problem | Solution |
|---|---|
| Layer goes out of frame | Use the transform panel to reposition it within bounds. |
| Rotation messes up alignment | Reset rotation using the reset button in the transform options. |
| Can’t add movement | Don’t forget to activate keyframes before adjusting layer motion. |
| Laggy animation | Reduce resolution or simplify effects to avoid lag during playback |
Tips to Make Your Video Look Better with Transform Tool
- Match subject with background: Adjust size and position so the subject doesn’t look out of place.
- Use gridlines: Enable gridlines from settings to align objects properly.
- Try symmetry: Place objects on both sides of the screen evenly for better balance.
- Zoom in for emotion: Highlight emotional expressions by zooming into the face.
Frequently Asked Questions
Q1: Can I undo my Transform edits?
Yes, use the undo button or press reset inside the Transform panel.
Q2: Can I transform audio clips?
No, the Transform Tool only works on visual layers like videos, images, and overlays.
Q3: How many keyframes can I add?
You can add as many as you want.
Q4: Does it work on all phones?
Yes, as long as your device supports the latest version of KineMaster.
Q5: Will Transform Tool affect export quality?
No, it only affects how things move or look.
Final Thoughts
The Transform Tool in KineMaster is perfect for making your videos look dynamic and professional. Whether you’re creating a vlog, tutorial, or music video, knowing how to resize, move, and animate layers will take your content to the next level. With just a few taps, you can highlight important parts of your video, add motion, or create smooth transitions. And the best part? You don’t need to be a pro to use it. Just follow the simple steps and start experimenting.
Recommended For You